Setting up Octoprint without a Raspberry Pi

Table of Contents
Background
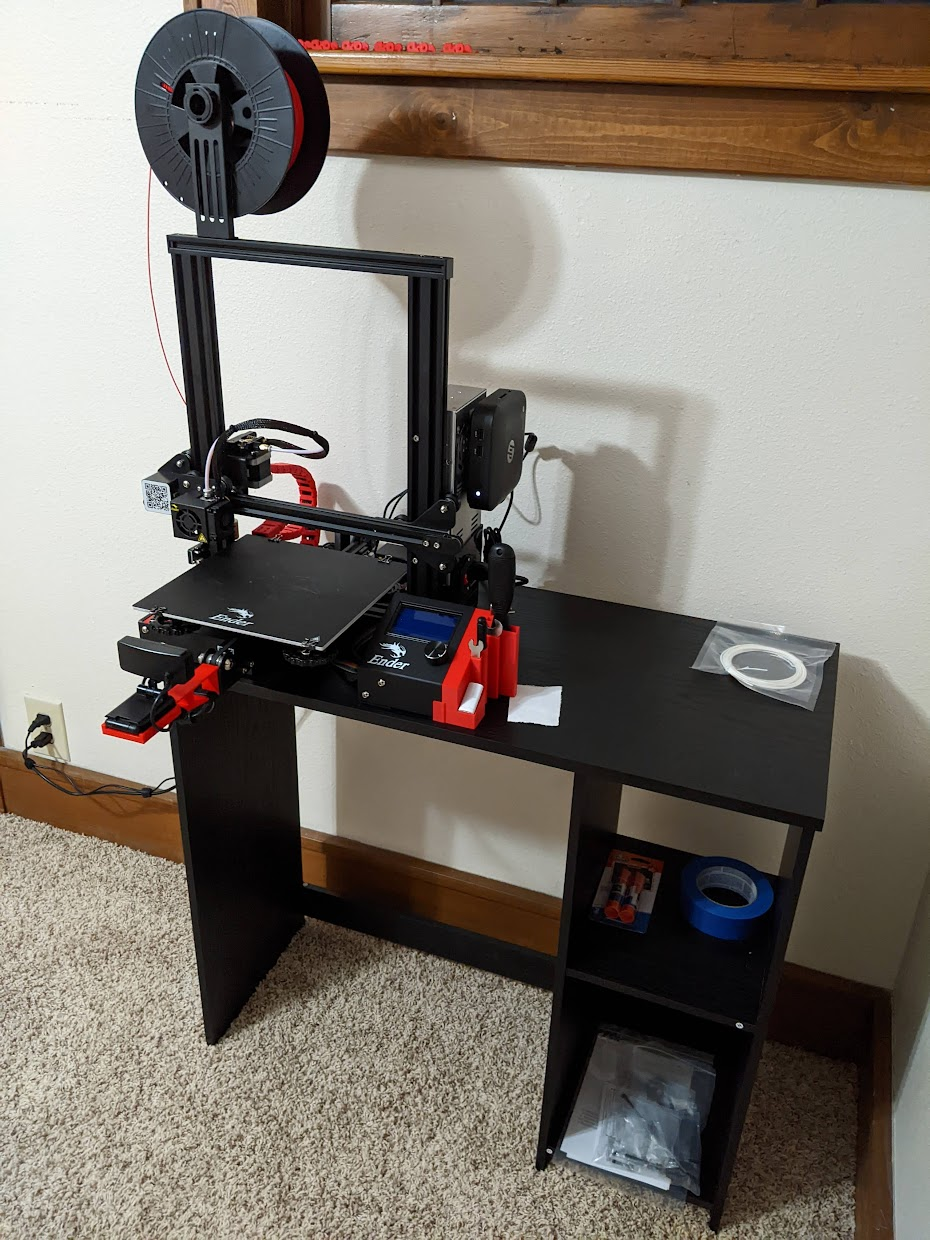
I recently got a Creality Ender 3 for myself. However, at work I’m spoiled by an Ultimaker that integrates beautifully with Cura and has remote monitoring. I wanted the same for my printer at home, so I set myself up an OctoPrint server.
OctoPrint has a ton of resources on their website, but I think they don’t really do a great job of explaining how to install it without the pre-made Raspberry Pi image. Below, is what I have figured out for myself.
Computer Selection
First off, while Raspberry Pis are extremely commonly used with OctoPrint, they’re pretty hard to get at time of writing.
What I found to be a little less expensive, more powerful, and x86, was an old HP Chromebox.

The Chromebox line is like a desktop version of a Chromebook, that is designed to only run ChromeOS. However, ChromeOS is built on Linux, so you can hack these things to run a normal Linux distribution. These in particular have a dual core Celeron, 4GB of RAM, 16GB of internal storage, and WiFi built-in. If you don’t need a power supply, they can be had for under $30, though finding only that comes with a power supply ended up costing me around $45.
Chromebox Setup
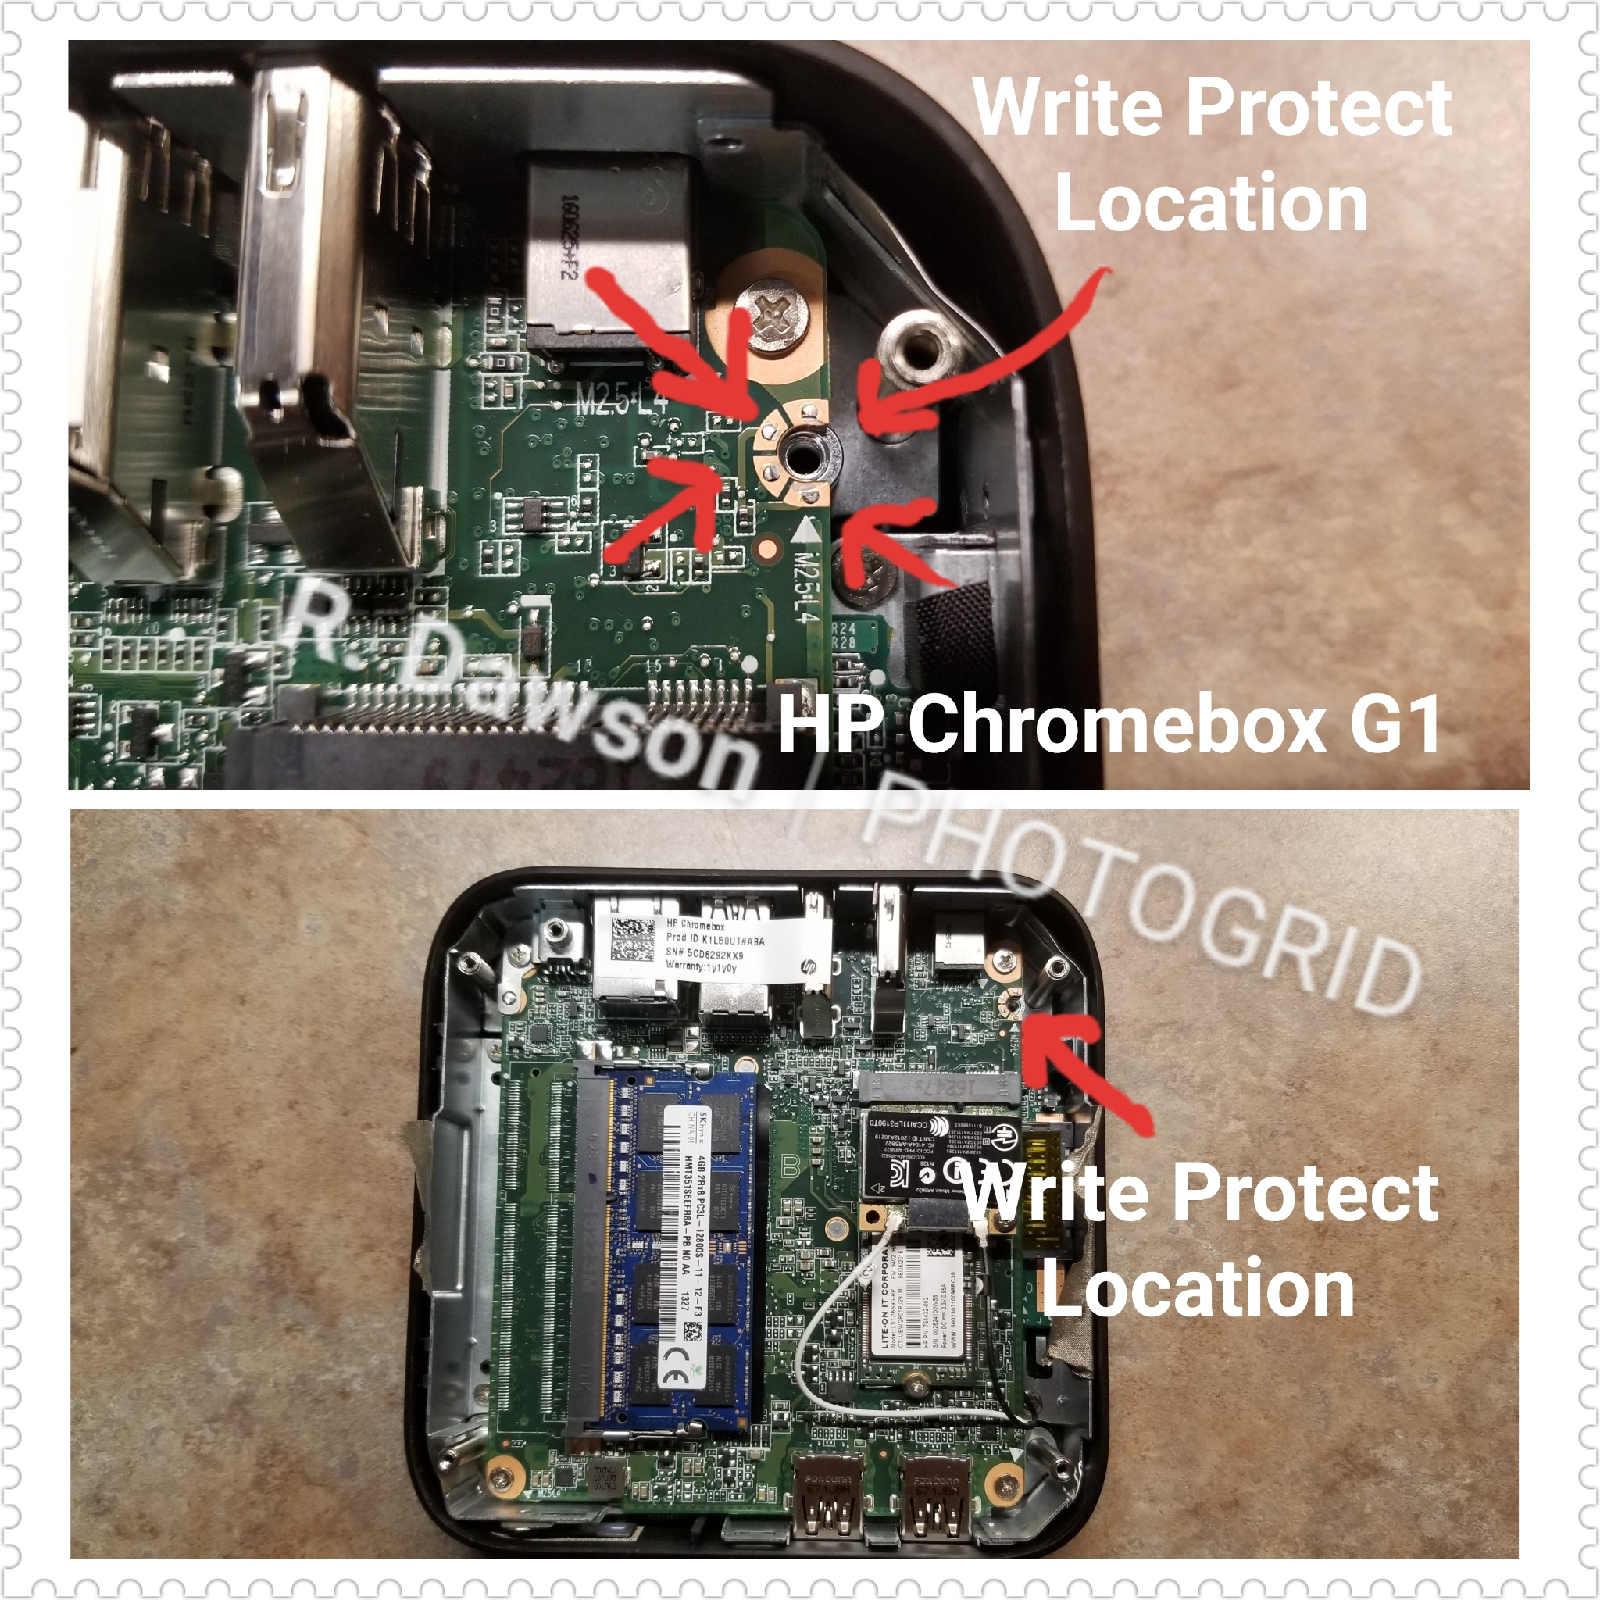
The first thing you’ll need to do with a Chromebox, is to remove the firmware write protection screw. Because you’re going to completely remove ChromeOS, this screw needs to come out. Doing this before you get started is easier.
Remove the 4 screws on the bottom of the Chromebox and take off the lid (these may be under rubber feet). Now, inside the bottom, remove the other mounting screws and gingerly peel up one side of the tape and take out the metal assembly.
You can now remove the write protection screw. It should stand out as the only screw that has contacts that make electrical contact with the motherboard.
Put everything back together. Now you need to enable developer mode. Put a paperclip or something into the pin hole on the side of the Chromebox, and push down the button inside. Hold this down and power it on. Press Ctrl + D on the white screen, and press the pin hole button once more. This will start a factory reset and enable developer mode. This will take around 5 minutes.
Once the Chromebox reboots and starts to go through the setup process again,
configure an internet connection AND DON’T DO ANYTHING ELSE.
Press Ctrl + Alt + F2 to get a shell. Login to
the account chronos with no password.
Run the following command to begin the install process:
1cd; curl -L -O https://mrchromebox.tech/setup-kodi.sh && sudo bash setup-kodi.sh
Follow the prompts for “Install/Update: Custom UEFI Firmware”. If you want to potentially ever re-install ChromeOS, you can do the step to dump the firmware to a flash drive. Otherwise, follow the steps, plug in an install drive for your Linux flavor of choice, and install Linux. I personally went with Ubuntu Server.
OctoPrint Setup
To setup OctoPrint, run the following:
1mkdir octoprint                           # create a directory to put everything in
2cd octoprint
3
4sudo apt install python3-pip python3-venv # install python3 pip and venv
5python3 -m venv .venv                     # create a virtual enviornment
6source .venv/bin/activate                 # actuvate the virtual environment
7python -m pip install pip wheel --upgrade # upgrade pip and wheel
8pip install octoprint                     # install octoprint
Now, with OctoPrint installed, I recommend setting up a systemd service so that
it starts automatically on boot and will restart if it crashes.
Create the file /etc/systemd/system/octoprint.service with the following content
(substitute your username for <user>, OctoPrint will not run as root):
 1[Unit]
 2Description=OctoPrint
 3Wants=network-online.target
 4After=network-online.target
 5
 6[Service]
 7ExecStart=/home/<user>/octoprint/.venv/bin/octoprint serve
 8Restart=on-failure
 9User=<user>
10
11[Install]
12WantedBy=multi-user.target
To enable and start the new service, run:
Finally, you’ll need to give the user you’re running OctoPrint as permissions to use the USB connection. Do this with:
OctoPrint will now be available on port 5000, or as octoprint.local.
For even more convenience, you can now setup restart and shutdown commands in the
OctoPrint UI with sudo service octoprint restart and sudo service octoprint stop.
Webcam Setup
I wanted a webcam for OctoPrint so I could check on my prints remotely, and bought this very cheap webcam.
OctoPrint does not include a webcam HTTP server, so if you are using a webcam, you’ll need to use a separate piece of software. The OctoPi image uses mjpg-streamer and this seems to work well. To install, run:
1sudo snap install mjpg-streamer
2sudo snap connect mjpg-streamer:camera # give the snap permission to use the camera device
Now, edit /var/snap/mjpg-streamer/current/config to set DAEMON="true"
so that mjpg-streamer runs as a service.
Finally, apply the changes with:
1sudo snap restart mjpg-streamer
Now both OctoPrint and the webcam HTTP server will run at boot.
The webcam server by default is available on port 8080. The URLs for streams and snapshots are:
- /?action=stream
- /?action=snapshot
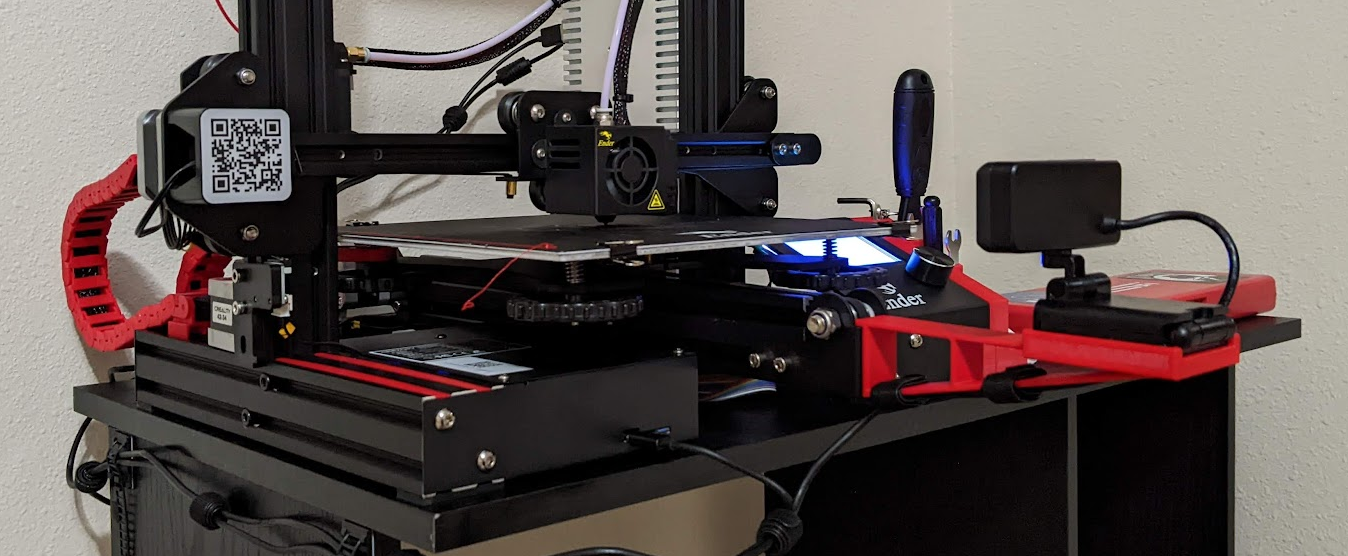
Connect OctoPrint to the Ender 3
First off, when connecting your OctoPrint server to your Ender 3 via the MicroUSB cable, make sure that the MicroUSB cable supports data transfer. Of the MicroUSB cables in my Pandora’s box of cables, about 40% of them would provide power, but the USB connection would not show up. I had to sort through cables one by one to find ones that would actually provide data.
Additionally, you may notice that the LCD screen and hotend fan will turn on when the MicroUSB cable is plugged in, even though the printer is off. This is because the MicroUSB cable will backfeed power to the printer. To prevent this, you can buy a USB power blocker like this or this (recommended), or put a small piece of tape over the 3.3V pin in your USB cable.
Final Setup
After you get OctoPrint setup, there’s 2 plugins I recommend specifically for Ender 3s:
- OctoPrint-DetailedProgress: Updates the printer LCD to show information rather than just being blank
- OctoPrint-DisplayLayerProgress: Adds layer information to the printer LCD
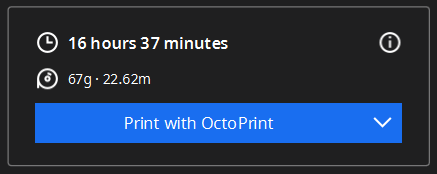
If you’re using Cura, you can also add the OctoPrint Connection plugin, to allow you to directly print from Cura, without needing to open up the OctoPrint UI.
Conclusion
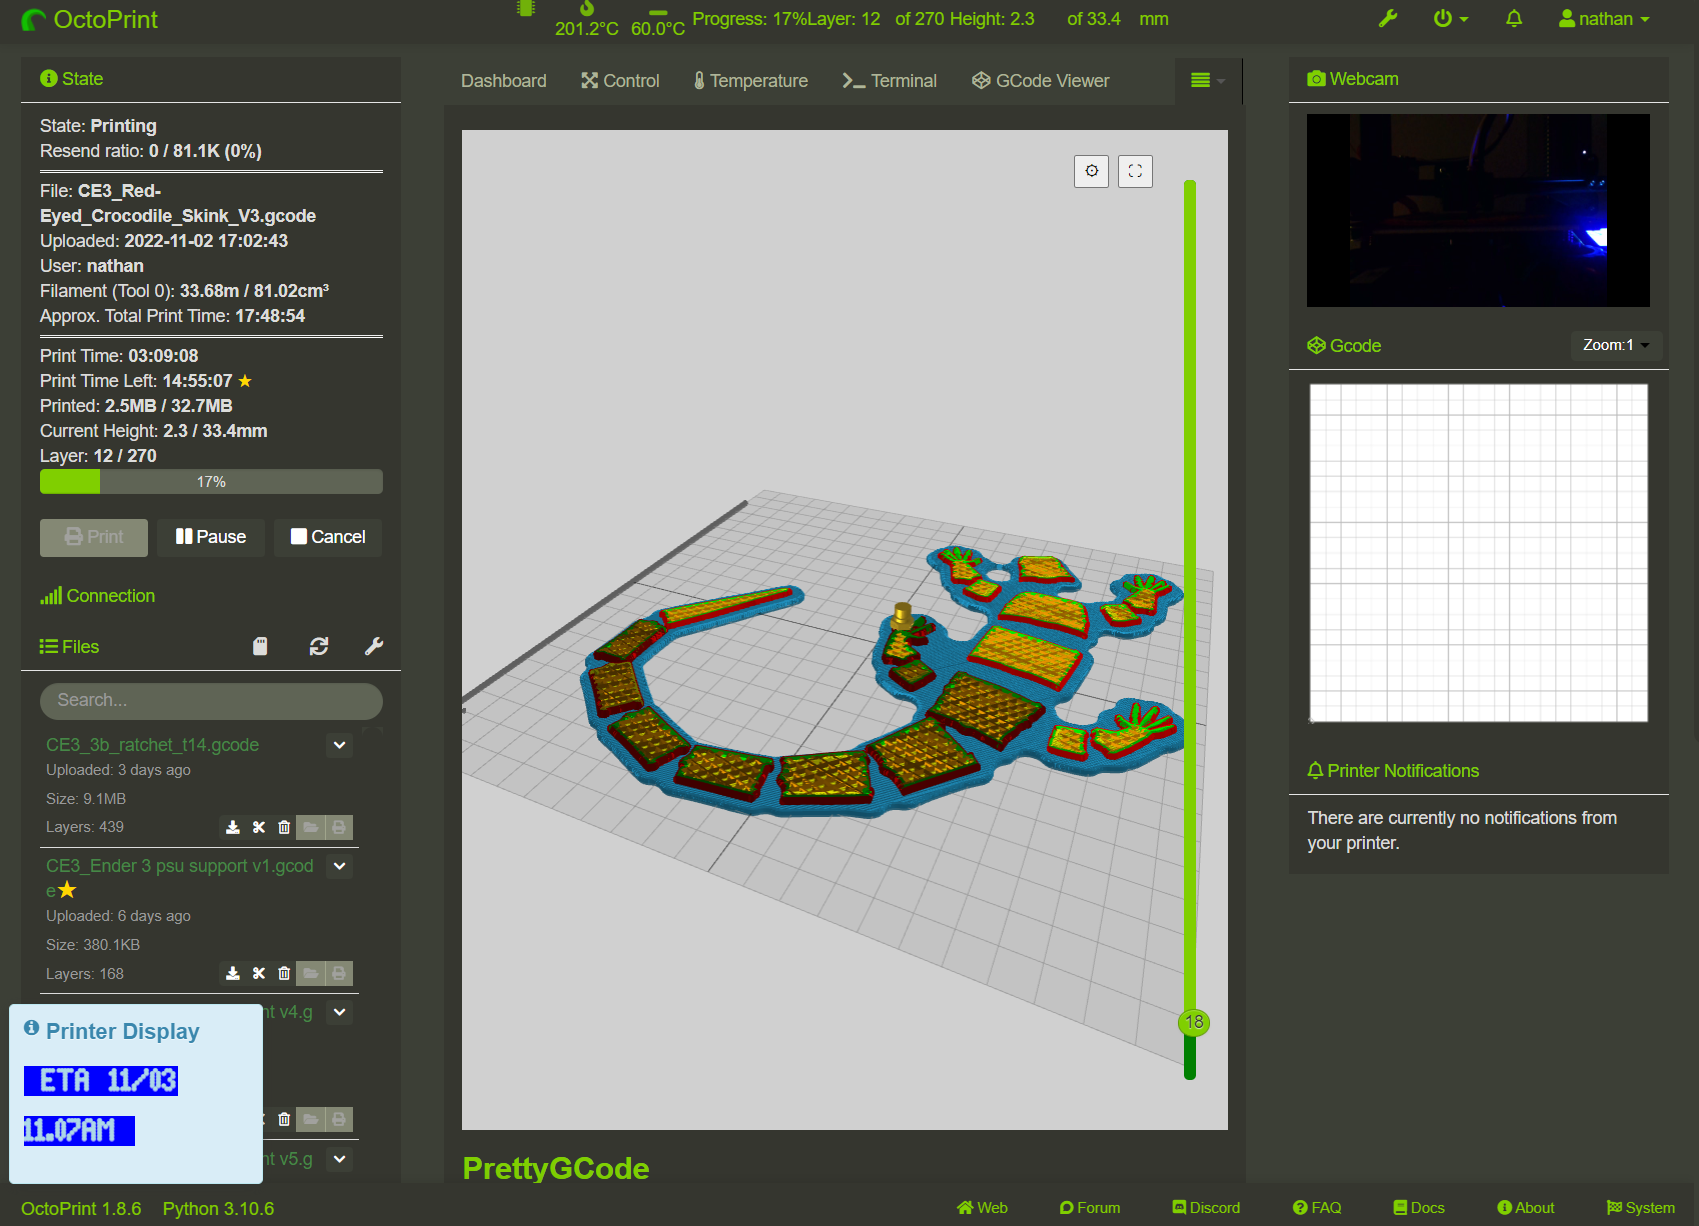
With all of the above set up, my 3D printing workflow is amazing.
Assuming the bed has already been levelled, all I have to do is flick on my printer,
then go to my desktop to set up the print in Cura, and I can send it to my printer
directly over the network without having to get up. No needing to export .gcode,
copy it to an MicroSD card, and load that on the printer.
With the extensive plugin community of OctoPrint, the remote monitoring of my printer is fantastic too. Being able to see GCODE progress, temperature graphs, and a live webcam all in one interface is extremely handy.